A DIY Toniebox music player
Designed, printed and wired from scratch for my son—because apparently buying the simple option wasn’t interesting enough.
I wanted the simplicity of a Toniebox without committing to a growing collection of £15 characters. So I did the completely sensible thing and spent far longer designing and building my own.
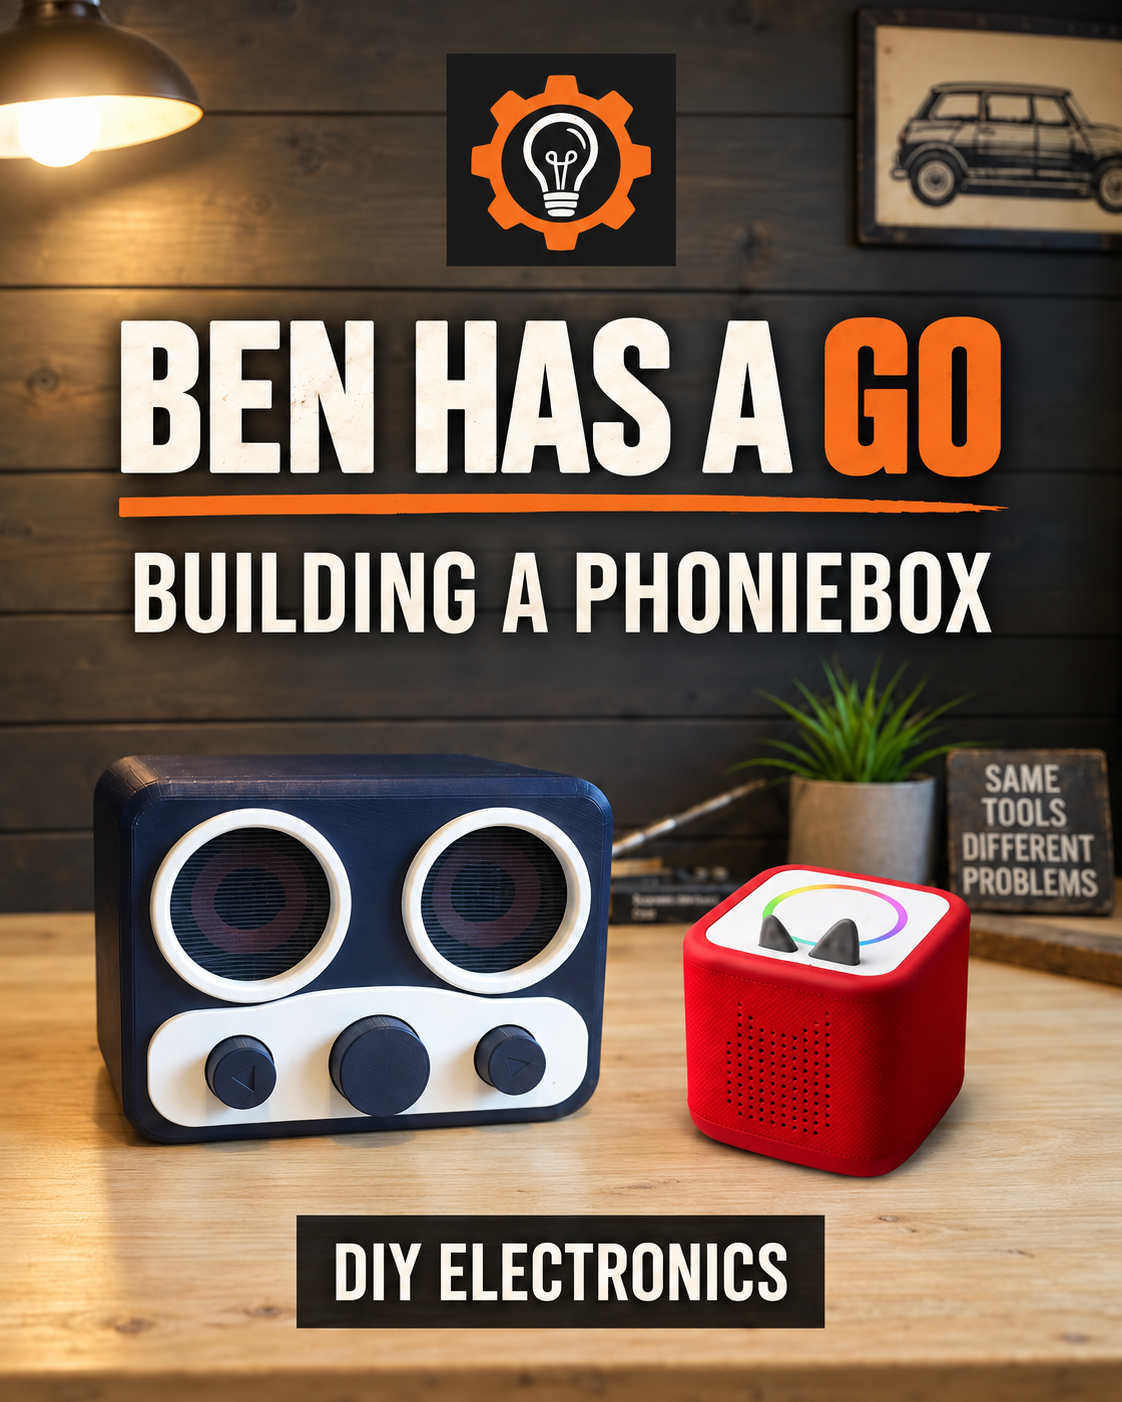
Overview
The player uses RFID cards to select music and stories. A child can tap a card, press the large tactile controls and adjust the volume without needing a screen or an adult hovering over them.
This is the second version of the idea. The enclosure was modelled around the hardware I already had, with the front designed as a mostly single multi-colour print. The aim was something robust, obvious to use and easy to repair when it inevitably gets dropped.
3D printing
The enclosure was designed for a Bambu P1S with AMS. Most of the front is one multi-colour print, including the speaker grilles and control labels, which keeps assembly cleaner and avoids stickers that would eventually peel off.
What sounded like a straightforward project became a lot more work than expected—but that’s half the fun.
# Build video
# Hardware
| Part | Job | Notes |
|---|---|---|
| Raspberry Pi | Main controller | Runs the player software |
| RC-522 RFID reader | Media selection | Reads cards through the case |
| 67mm speakers | Audio output | Mounted behind printed grilles |
| KY-040 Rotary encoder | Volume | Simple tactile control |
| Keyboard switches | Playback controls | Replaceable and satisfyingly clicky |
# Lessons learned
- Design around the parts you can actually source, not perfect imaginary dimensions.
- Leave more room than you think for connectors and cable bends.
- A removable back panel makes troubleshooting dramatically less annoying.
- Prototype the button feel before committing to the final front panel.
# Project links
 Build log #001 — somehow, it works.